Getting Started
SeaORM Pro is a full-stack web framework based on Loco with all the scaffolding so you don't have to start from scratch.
You can launch your own admin portal in minutes starting from nothing but a database with some data!
It involves:
- Environment setup
- Generate entities
- Launch!
Download the source code from SeaORM Pro / SeaORM Pro Plus then follow the steps below.
# Clone the source code then go into the directory
git clone https://github.com/SeaQL/sea-orm-pro.git && cd sea-orm-pro
# Or
git clone https://github.com/SeaQL/sea-orm-pro-plus.git && cd sea-orm-pro-plus
1. Environment setup
- Modify
.envwith your database credentials, here it uses SQLite as the default database, so you don't have to setup anything.
# DATABASE_URL="mssql://sa:YourStrong()Passw0rd@localhost/AdventureWorksLT2016"
# DATABASE_URL="mysql://root:root@localhost/AdventureWorksLT2016"
# DATABASE_URL="postgres://root:root@localhost/adventureworkslt2016"
DATABASE_URL="sqlite://db.sqlite?mode=rwc"
- If you want to target other databases, please enable the database backend in
Cargo.tomlaccordingly:
[features]
default = ["sqlx-sqlite"] # <- change this
sqlx-mysql = ["sea-orm/sqlx-mysql"]
sqlx-postgres = ["sea-orm/sqlx-postgres"]
sqlx-sqlite = ["sea-orm/sqlx-sqlite"]
- Setup database schema and seed the database
cargo run task seed_data

    Finished `dev` profile [unoptimized + debuginfo] target(s) in 0.71s
     Running `target/debug/sea-orm-pro-backend-cli task seed_data`

Reading: "Customer.csv"
Seeding Completed: "Customer.csv"
Reading: "Address.csv"
Seeding Completed: "Address.csv"
Reading: "CustomerAddress.csv"
Seeding Completed: "CustomerAddress.csv"
Reading: "SalesOrderHeader.csv"
Seeding Completed: "SalesOrderHeader.csv"
Reading: "ProductCategory.csv"
Seeding Completed: "ProductCategory.csv"
Reading: "ProductModel.csv"
Seeding Completed: "ProductModel.csv"
Reading: "Product.csv"
Seeding Completed: "Product.csv"
Reading: "SalesOrderDetail.csv"
Seeding Completed: "SalesOrderDetail.csv"
Reading: "ProductDescription.csv"
Seeding Completed: "ProductDescription.csv"
Reading: "ProductModelProductDescription.csv"
Seeding Completed: "ProductModelProductDescription.csv"
All Tables Completed Seeding!
- Download the assets of admin panel frontend
sh build_tools/download_frontend.sh
- Start the Loco.rs server
cargo run start

listening on [::]:8086
- Visit http://localhost:8086/admin and login with the credentials
Email: admin@sea-ql.org / manager@sea-ql.org / public@sea-ql.org
Password: demo@sea-ql.org
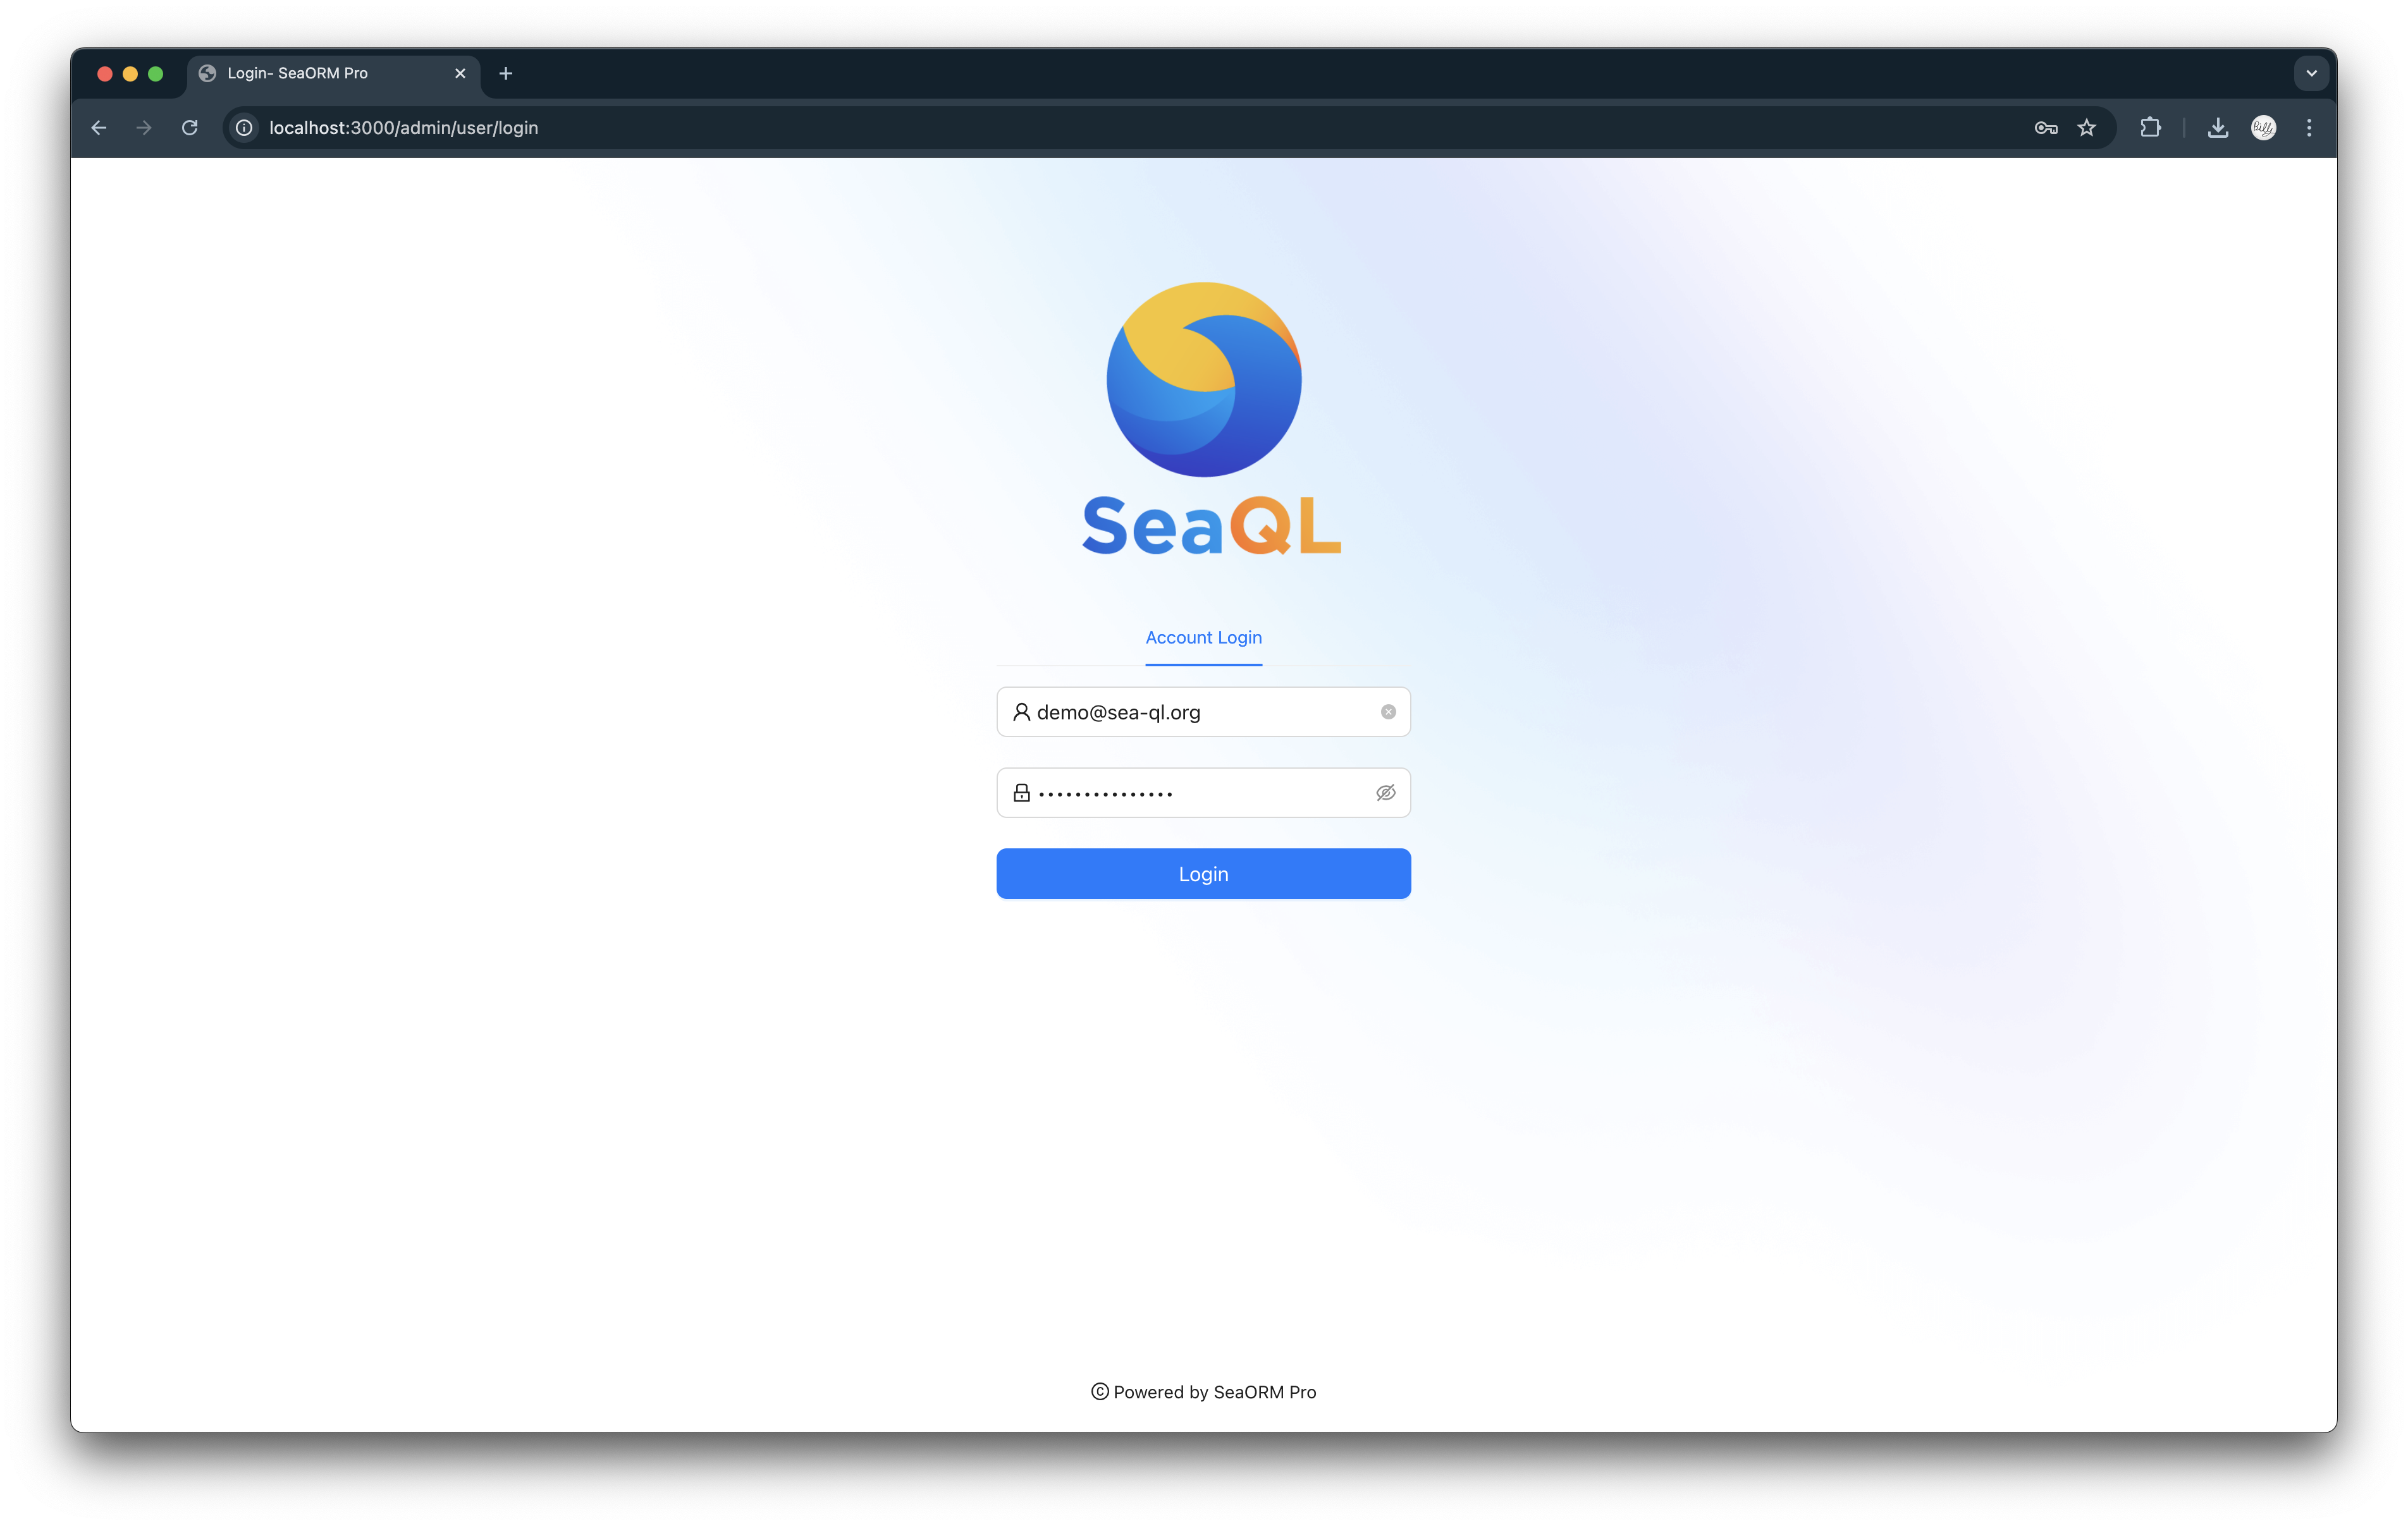
You can play around with the demo database for as long as you like.
2. Make it your own
Now, let's make this admin panel your own.
First, clear the canvas by running:
sh build_tools/scaffold.sh
This script removes all the demo data and entities, and reset the project to a blank state.
Then, edit .env again to point it to your database:
DATABASE_URL="postgres://root:root@localhost/myproject"
Modify Cargo.toml to enable the corresponding database backend.
We can then regenerate entities with Seaography enabled.
cargo install sea-orm-cli@^2.0.0-rc # if you haven't installed

sea-orm-cli generate entity -o src/models --seaography
The entities are exactly the same, except with an additional RelatedEntity enum.
use sea_orm::entity::prelude::*;

#[derive(Clone, Debug, PartialEq, DeriveEntityModel, Eq)]
#[sea_orm(table_name = "users")]
pub struct Model {..}

#[derive(Copy, Clone, Debug, EnumIter, DeriveRelation)]
pub enum Relation {}

#[derive(Copy, Clone, Debug, EnumIter, DeriveRelatedEntity)]
pub enum RelatedEntity {..}
The User Entity is already provided, so you have to edit src/models/mod.rs to add it back.
//! `SeaORM` Entity, @generated by sea-orm-codegen
pub mod prelude;

pub mod address;
pub mod customer;
pub mod user; // <- add this

seaography::register_entity_modules!([
    address,
    customer,
]);
If you want to add additional fields to User, you can edit migration/src/m20250101_000001_user.rs.
If you want to change the default users' username or password, you can edit m20250101_000002_seed_users.rs.
let insert = Query::insert()
    .into_table(User::Table)
    .columns([
        User::Email,
        User::Password,
        User::Name,
    ])
    .values_panic([
        "admin@sea-ql.org".into(),
        hash_password("demo@sea-ql.org")?.into(),
        "Admin".into(),
    ])
    .to_owned();
You may also want to customize the RBAC rules in m20250101_000004_seed_rbac.rs.
3. Launch!
Try cargo build the project first. Before launching, make a backup of the database with mysqldump or pg_dump.
You can now launch the admin panel with cargo run start, the migrations will automatically run to seed the user and rbac tables.
You should be able to see the same login screen, now you can login with the new credentials!